
9 Tiny Bathroom Remodel Ideas on a Budget
I still remember the first time I walked into my tiny bathroom and felt my elbows nearly touch both walls. The room was barely five feet wide, the paint was turning yellow, and the lighting made everyone look sleepy. I laughed, then I groaned, then I got to work.
Here is the truth: I did not have a big budget. I had a small paycheck, a short weekend, and a lot of stubborn hope. Every dollar mattered, so I tested cheap ideas one at a time and kept only the ones that truly worked.
Along the way, I made plenty of mistakes. I bought a faucet that did not fit. I hung a shelf with weak anchors. I skipped prep work before painting and watched the corners peel. Those little disasters taught me more than any magazine ever could.
What surprised me most was how much a small space can change with small moves. You do not need a full renovation, a contractor, or a fat savings account. You need a simple plan, a few basic tools, and a willingness to try something new.
In this article, I am sharing the nine ideas that made the biggest difference in my own tiny bathroom. Each one is friendly to beginners, easy on the wallet, and doable in a weekend or less. Many of them cost under fifty dollars.
Also, decide what bothers you most. Is it the dark corners, the dingy floor, or the messy counter? Start with that one thing. A quick win gives you energy to keep going, and I promise that momentum is real.
One more tip: look at your bathroom with fresh eyes. Stand in the doorway and notice what your eyes land on first. That spot deserves your time and money. Everything else can wait until the next payday.
1. Repaint With Moisture-Resistant Paint
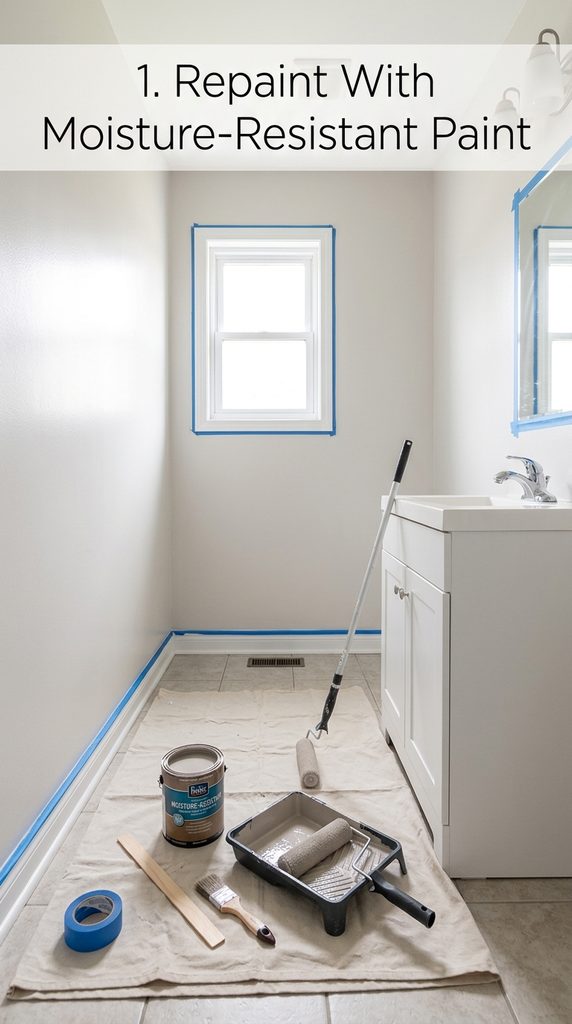
The first thing I did was grab a gallon of moisture-resistant paint. It cost less than a nice dinner out, and it changed the whole room in a single weekend. Nothing else gave me this much change for the money.
I picked a soft white with a hint of warm gray. Light colors bounce light around and make cramped walls feel farther apart. Dark shades can work, but I learned they shrink small rooms fast.
Take your time with prep. Clean the walls well, patch any holes, and run the fan while the paint dries. I rushed once and got peeling corners within months. Slow down here.
2. Swap the Faucet and Vanity Hardware
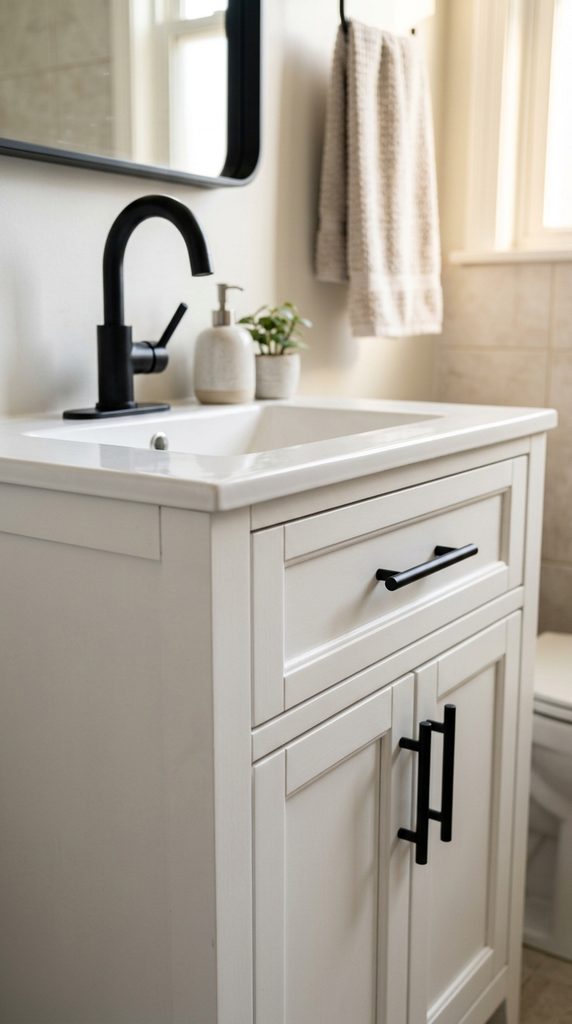
New knobs, pulls, and a faucet are the cheapest “wow” upgrade I know. I swapped my tired chrome for matte black pieces in one afternoon, and my old vanity suddenly looked brand new.
Check the size of your sink holes before you shop. I once bought a faucet that did not fit, and returning it cost me a whole weekend. Measure twice, then buy once.
Most faucets install with a basic wrench and a little patience. Watch one short video first. Fixtures often run fifty to a hundred dollars, far cheaper than replacing the entire vanity.
3. Lay Peel-and-Stick Floor Tile
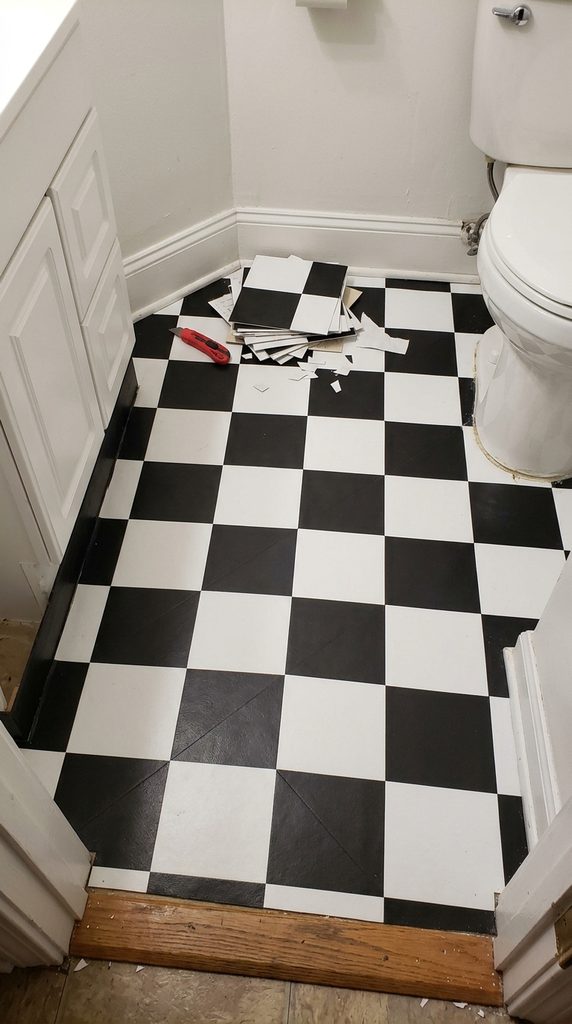
Peel-and-stick tile saved my floor without wrecking my wallet. Mine cost about a dollar per square foot, and a tiny bathroom needs very few. I finished the whole floor in one lazy Sunday.
Pick a pattern that feels fun but not loud. I chose a simple black and white check, and it makes the room feel bigger. Larger tiles with fewer lines also help.
Clean the floor well and let it dry fully before sticking anything down. Press each tile firmly and trim the edges with a sharp utility knife. Mine has stayed put for years.
4. Add Floating Shelves Above the Toilet
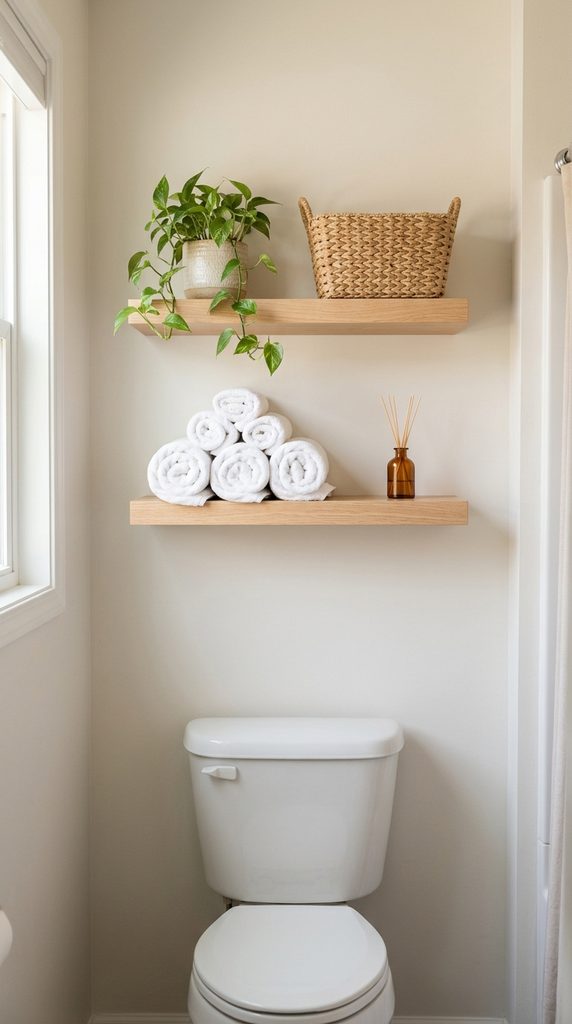
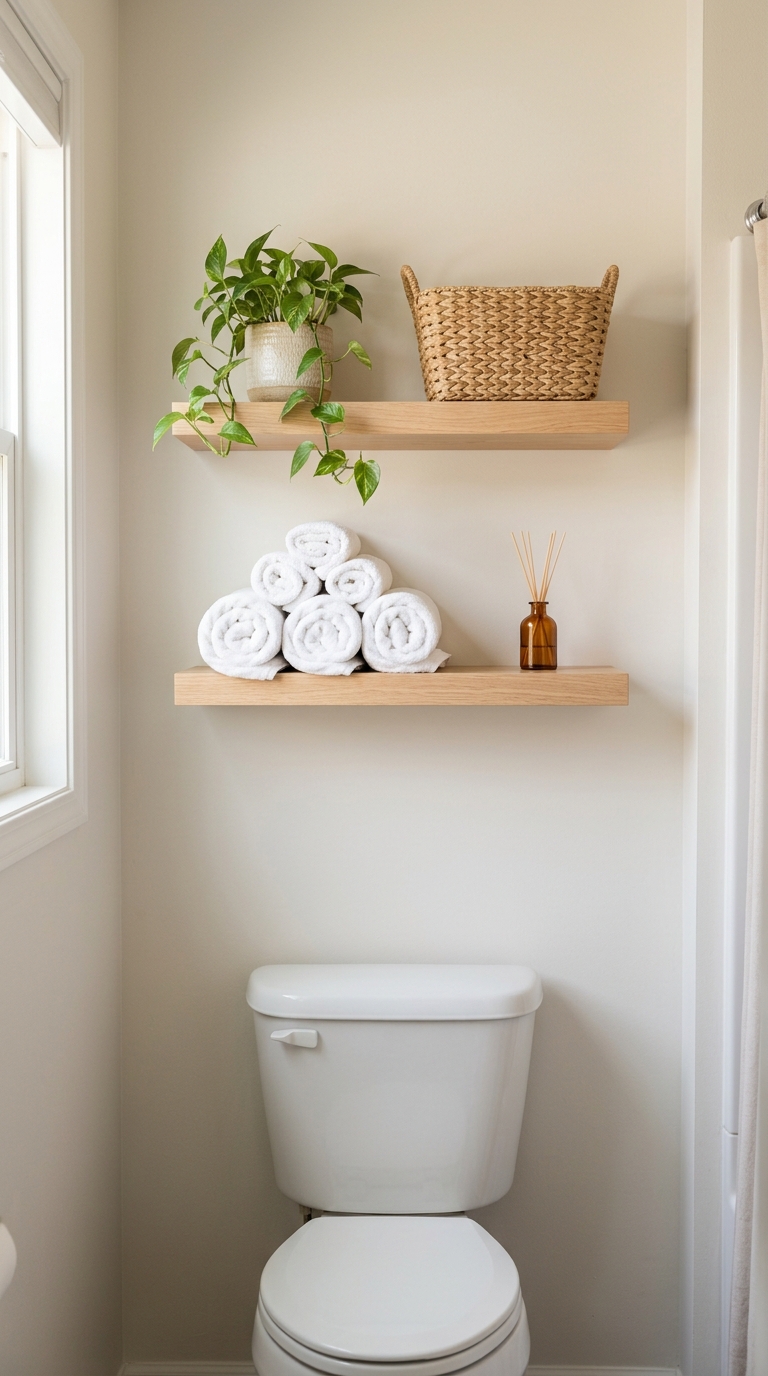
Wall space is gold in a tiny bathroom. I put two simple floating shelves above my toilet, and suddenly I had room for towels, a little plant, and a basket of spare soap.
Look for shelves with hidden brackets so they stay clean and light. Wood adds warmth, while white ones almost disappear into the wall. Either choice keeps the room feeling open and calm.
Always screw into wall studs or use proper anchors. I once trusted weak plastic anchors and woke up to a loud crash. Heavy towels need strong support, so do not cut corners here.
5. Hang One Big Mirror
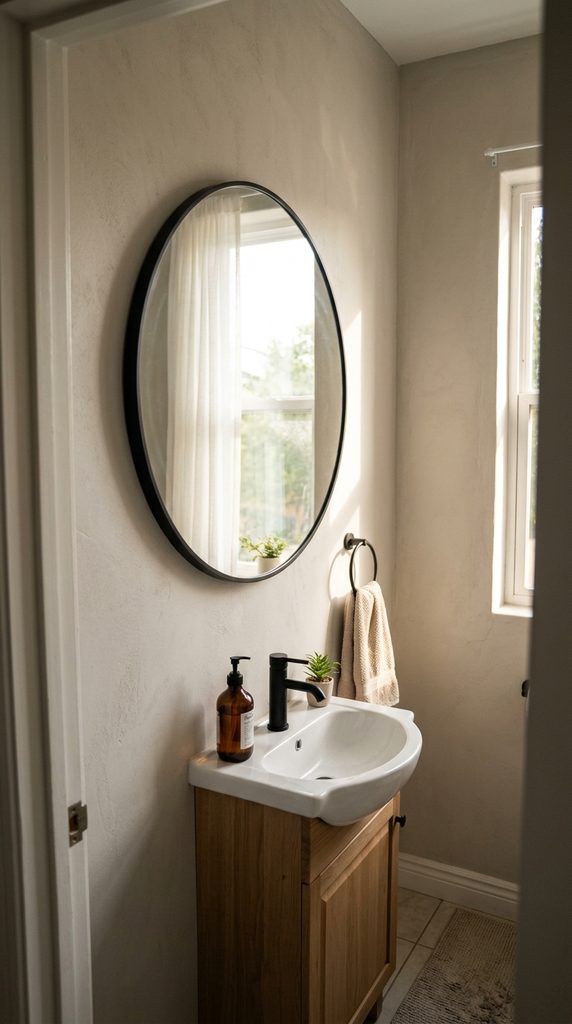
A large mirror is the easiest trick for a small bathroom. I replaced my tiny builder-grade mirror with a big round one, and the room felt twice as wide the very same day.
Hang it where it reflects your window or a light fixture. That doubles the glow without any extra cost. I found mine at a thrift store for twenty dollars and loved it instantly.
Add a frame if you like. A little wood trim or black paint around a plain mirror gives it a custom look. Round shapes also soften all those sharp bathroom corners.
6. Switch to a Light Shower Curtain and Curved Rod
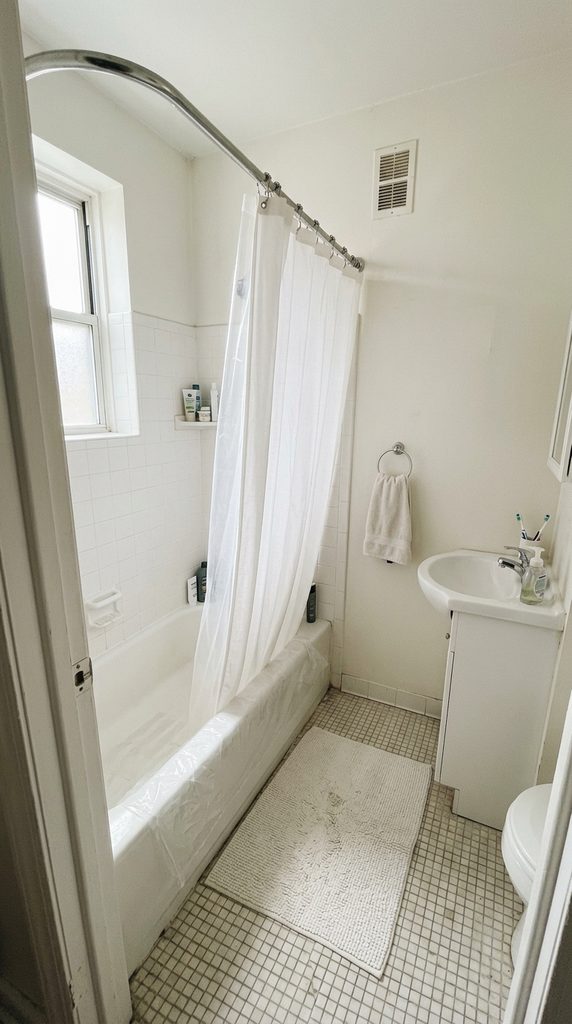
Heavy, dark shower curtains chop a tiny bathroom into pieces. I switched to a clear liner with a bright white curtain on top, and my eyes could finally see the whole room at once.
A curved shower rod is a cheap hack I adore. It bows outward and gives you extra elbow room while you wash. Mine cost around thirty dollars and installed in about five minutes.
Hang the rod higher than usual, close to the ceiling. It draws the eye upward and makes the walls look taller. Choose fabric you can toss in the washing machine.
7. Upgrade the Lighting
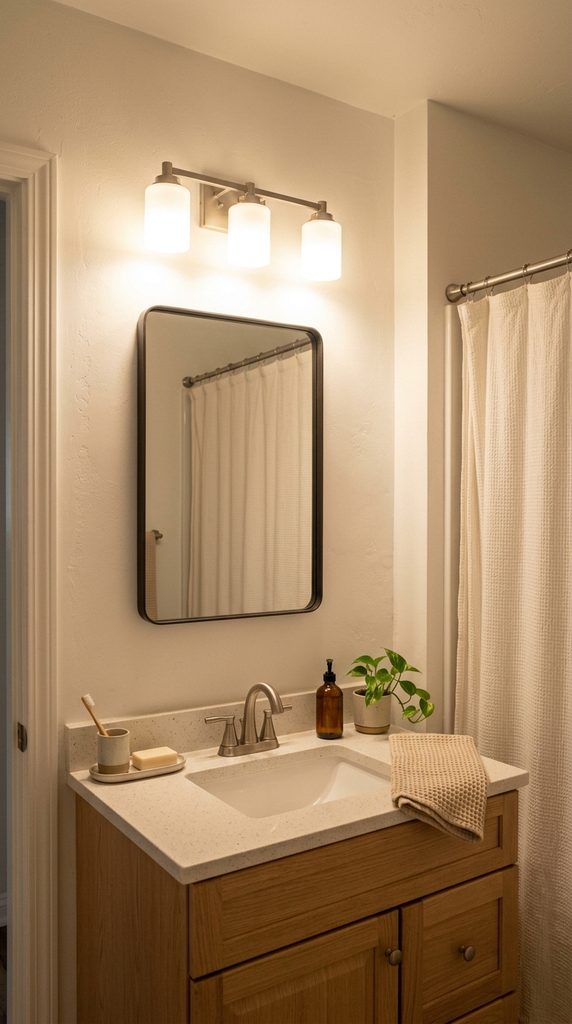
Bad lighting made my bathroom feel like a cave. I replaced one dim bulb with a warm, bright LED fixture, and the whole space felt fresh for under forty dollars. It was a bigger change than I expected.
Look for fixtures labeled damp-rated or wet-rated, since steam is tough on cheap ones. Warm white bulbs flatter skin and walls alike. Cool blue bulbs made me look tired.
If wiring scares you, start with just new bulbs and a new shade. That tiny change can still brighten the room. For full fixture swaps, always switch off the power at the breaker first.
8. Refresh the Grout and Caulk
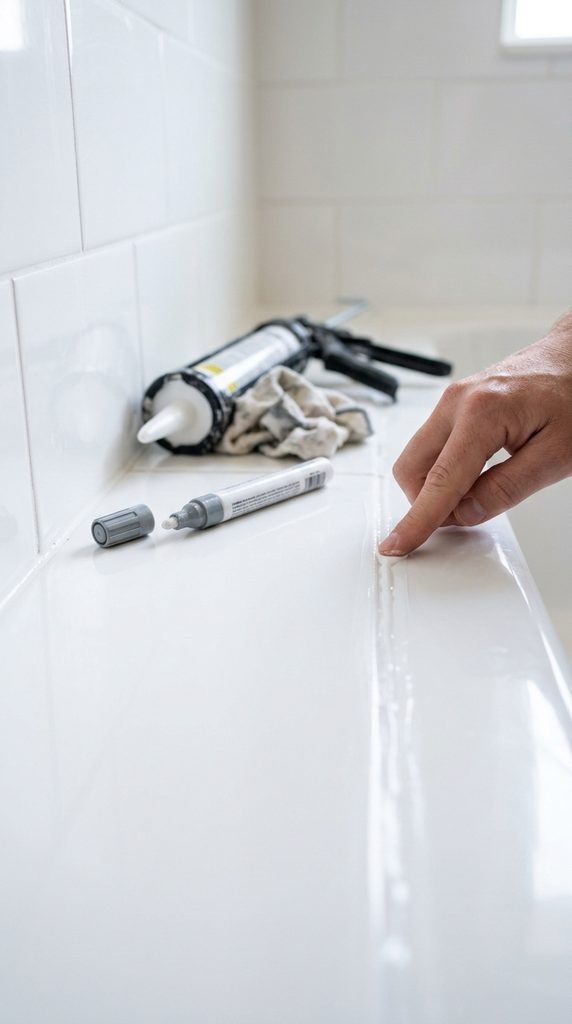
Fresh grout and caulk are boring, but they work like magic. My dingy lines made everything look old, and ten dollars of supplies erased years of grime in about two hours.
Scrape out the old caulk, wipe the area dry, and lay a thin, steady bead of new silicone. A damp finger smooths it perfectly. Be patient and let it cure for a full day.
Grout pens are great for small touch-ups between tiles. I used one on my shower walls, and the tile looked cleaner right away. Good sealing also keeps moisture from sneaking behind your walls.
9. Add Smart Vertical Storage
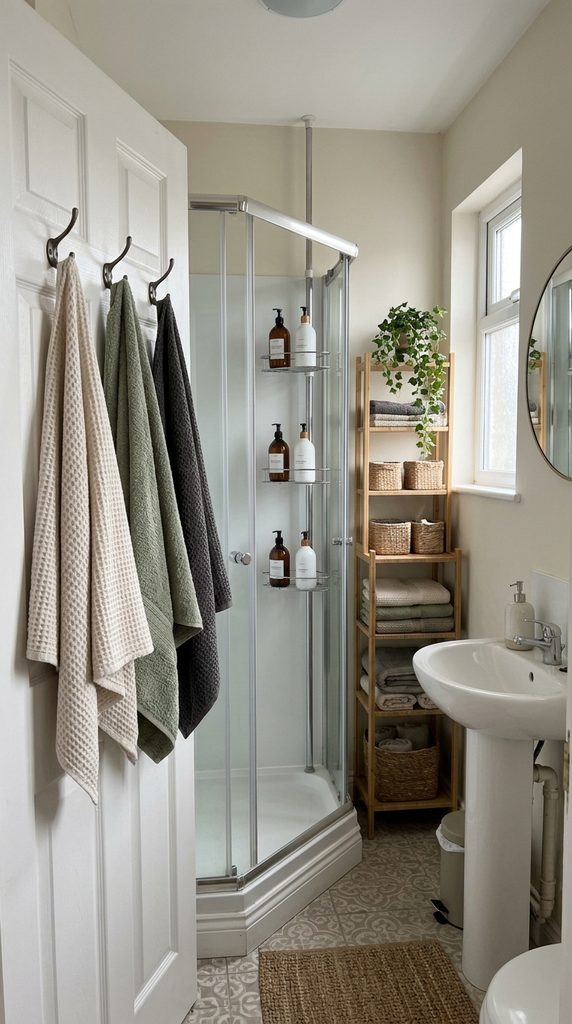
Clutter is the real enemy in a tiny bathroom. I mounted three hooks behind the door and added a slim corner caddy in the shower, and my counter finally cleared up for the first time.
Think vertical. Tall narrow racks, wall baskets, and over-the-toilet units use space you already have. I never knew how much room I was wasting until I started looking up.
Keep only daily items out in the open. I store extras in a lidded basket under the sink. A calm, tidy bathroom feels bigger and costs almost nothing to maintain.
Final Thoughts
When I look at my tiny bathroom now, I still smile. It is the same small room with the same small footprint, but it feels bright, fresh, and truly mine. That change came from simple, affordable steps.
You do not have to try all nine ideas at once. Pick the one that speaks to you, finish it, and enjoy the win. Then move on to the next when your time and budget allow.
Remember that small spaces reward patience. Every cheap upgrade builds on the last one, and before long, the whole room feels different. I was amazed at how far a few weekends and a few hundred dollars could go.
If you get stuck, slow down and watch a quick tutorial. Almost every project here is beginner friendly, and mistakes are part of the fun. I made plenty, and each one made the next project easier.
Take photos along the way, too. Seeing the before and after side by side is incredibly motivating. It reminds you that your hard work counts, even when a project feels slow or messy.
Most of all, do not compare your tiny bathroom to the huge ones online. Your space has its own charm, and with a little care, it can feel just as lovely. Small can be cozy.
I would love to hear which idea you try first. Maybe it is fresh paint, a bold mirror, or a new faucet. Whatever you pick, I hope this list gives you the push to start.
Thanks for spending time with me today. Here’s to tiny bathrooms, tight budgets, and big, happy results. Go grab that paint brush, and enjoy every single step of the journey.